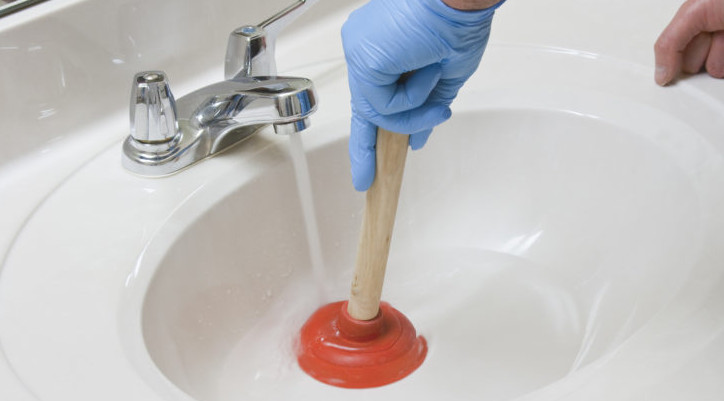
Ever thought of waking up in the morning only to be disappointed when brushing your teeth in the bathroom? The experience of a clogged sink brings an early morning disappointment as you watch stagnant and unwanted water that won’t drain.
Much as you would feel that your day has been messed up by the bubbling sink, there is a solution out to the challenge which does not have to necessarily involve a plumber or use of chemicals that you possibly do not have at home.

Below are steps to help you sort out the mess by yourself as you seek for a permanent measure later.
-
Disconnecting the Stopper
One of the reasons why sinks clog is a concentration of dirt which could be grease, oil and other junk. To clean it up, you first of all need to disconnect the stopper from the sink.
Follow the right process by checking on the metal stripe that is under the sink and unscrew the nut which connects the drain pipe to the metal strip beneath. Look for the rod that is connected to the pop-up assembly and remove it. This will give a chance to disconnect it from the stopper for the next course of action.
-
Cleaning the stopper
Upon removing the stopper from the drain, there is a lot of dirt that surrounds it. The best option is to wipe it with a wet towel and throw away any collection of trash to the dust bin. Put it aside for a few minutes to allow for aeration and draining to ensure that it’s completely free from dirt.
-
Use a Snake to drain any clog
A snake is a form of a rod that is used to unclog the drain when the stopper is already removed. You can do this by inserting the snake into the drain and twist it around the pipe to clear any more junk that may be concentrated along the walls.
Most of the bathroom sinks can use the 25-foot drain, and it will work out correctly.
Repeat this process when the dirt starts coming out until you finally remove a clean snake when you twist it along the drain.
Ensure you dump any rubbish in the trash as you watch on how effective it becomes.
-
Connecting back the stopper
Reinstall back the stopper by connecting it from under the sink. Ensure that you re-join the pivot nut to the metal strips.
Before you fully connect test by confirming that the water is flowing smoothly. If okay, then connect it objectively without intentions of disconnecting the stopper again.
However, if it fails to drain, check on the P-Trap beneath the sink. It’s an elbow-shaped section. Unlock it and ensure you have a bucket that water and any dirt can spill into. Clean it up and remove any clogs in it.
Re-join it again and ensure this is done tightly to prevent water from passing through. By this time, your sink should be up and running. Should this fail, then feel free to call a plumber to support on unclogging the sink.
-
Prevent Future Clogging
Finally, develop a habit of preventing future clogs by ensuring that no solid is allowed in the sink. Observe cleanliness and use warm water to rinse the sink and to remove any greasy particles that may start clogging around the stopper and you will be good to go.
Contact The Write Life Plumbing Magazine for more details.